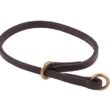


A slip collar is a type of dog collar that is put on by slipping it over the dog’s head. It is also sometimes called a choke chain or choke collar. A slip collar consists of a loop of material with a ring at each end.
The loop is slipped over the dog’s head, and one of the rings is attached to the leash. The other ring is free to slide along the loop. When the dog pulls on the leash, the free ring tightens the noose and puts pressure on the dog’s neck.
DIY Dog Training Collar- America’s Canine Educator
- Decide on the size of the slip collar you need to make
- Cut a strip of leather or nylon about 1 inch wide and 3 feet long
- Fold the strip in half lengthwise and sew it together with a heavy-duty needle and thread
- Trim the ends of the strip, so they are even, then punch a hole through both layers of leather about 6 inches from one end
- Run a piece of strong cord or wire through the hole and tie it off to form a loop
- Put the slip collar on your dog by slipping the loop over his head and adjusting it to fit snugly around his neck without being too tight
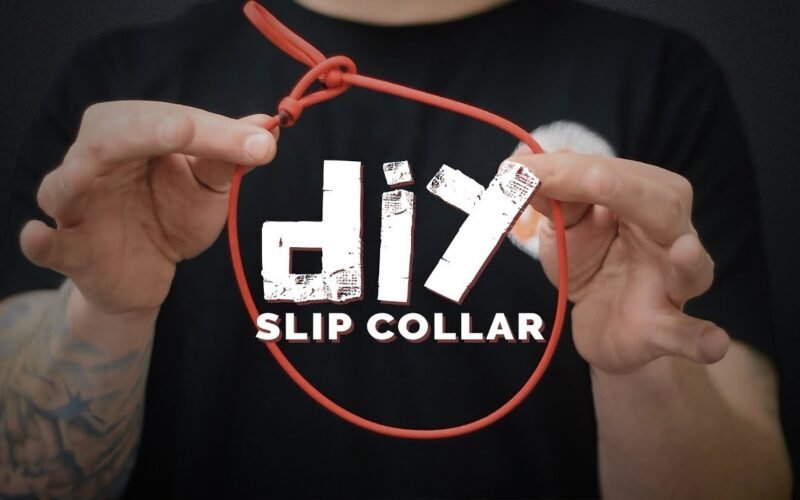
Paracord Slip Collar Diy
There are many ways to make a slip collar for your dog, but one of the most popular is using a paracord. Paracord is a solid and durable cord used for various purposes, including making leashes and collars. It’s also relatively inexpensive and easy to find.
If you’re interested in making a slip collar out of paracord, there are a few things you’ll need to know first. In this blog post, we’ll walk you through the basics of how to make a paracord slip collar, including what materials you’ll need and some tips on getting started.
Slip Collar for Dog Training
A slip collar is a dog training collar designed to tighten around the neck when pulled. It is also known as a choke chain or check the chain. Slip collars are typically made of metal links or nylon webbing and are adjustable in size.
Slip collars should only be used during supervised training sessions and removed when not in use. Dogs should never be left unsupervised while wearing a slip collar. There are two main ways to use a slip collar for dog training: positive reinforcement and negative punishment.
Positive reinforcement rewards the dog for good behavior (such as sitting calmly) with praise or treats. With negative punishment, the dog is punished for bad behavior (such as pulling on the leash) by having the slip collar tightened around its neck. Both positive reinforcement and negative punishment can be effective methods of dog training, but it’s essential to use them correctly.
For example, if you consistently punish your dog for pulling on the leash, he may learn to fear you and become anxious or aggressive. On the other hand, if you only reward your dog for good behavior, he may know that pulling on the leash gets him what he wants (attention from you). The best way to use a slip collar is to combine positive reinforcement and negative punishment in your training regimen.
Slip Collar Dog
A slip collar is designed to tighten when the dog pulls on it. This makes it an effective tool for training dogs not to pull on their leash. Slip collars are also known as choke chains or check chains.
Slip collars should only be used during training sessions and removed when the dog is not trained. It is essential to never leave a slip collar on a dog unattended as it could get caught on something and choke the dog. If you are using a slip collar to train your dog, it is essential to use it correctly.
Put the slip collar on the dog’s neck and ensure it is loose enough to fit two fingers between the collar and the dog’s neck. When the dog starts to pull, give a quick tug on the leash so that the slack in the leash tightens the slip collar around the dog’s neck. The goal is not to choke or hurt the dog but to startle them, so they stop pulling.
A slip collar can effectively train your dog not to pull on its leash. However, it is essential to use them correctly and never leave them on unsupervised dogs.
Slip Lead With Stopper
A slip lead is a type of leash commonly used by owners and professional dog trainers. It consists of a loop of rope or leather that can be slipped over the dog’s head and a metal ring (or “stopper”) that prevents the coil from tightening too much. Slip leads are often used to train dogs who pull on their leash, as they gently correct the dog’s behavior without causing any pain or discomfort.
There are many types of slip leads available on the market, but they all serve the same primary purpose. If you’re looking for a slip lead for your dog, choose one made from high-quality materials that fit your dog comfortably. We also recommend opting for a slip lead with a stopper, as this will help to prevent accidental strangulation.
Slip Collar Vs Martingale
Two types of dog collars serve similar purposes: the slip collar and the martingale. Both collars can be used for walks, training, and controlling dogs who pull on the leash. However, there are some critical differences between these two types of collars.
The most notable difference is in how they tighten. A slip collar will tighten evenly around the neck, while a martingale will tighten more at the back of the neck. This is because a martingale has a loop around the nose, drawing when pulled.
This can make a martingale more effective for dogs who pull on the leash, as it gives them more control over where the pressure is applied. Another difference is in how they are sized. Slip collars are typically adjustable, while martingales usually come in fixed sizes.
This means that you need to be careful when sizing a martingale – if it’s too big, your dog may be able to slip out of it; if it’s too small, it could be uncomfortable or even dangerous for your dog to wear. Finally, martingales typically have metal hardware, whereas slip collars often do not. This can make martingales more durable and resistant to wear-and-tear, but also heavier and more likely to jingle when your dog moves.
.

Credit: www.thehonestkitchen.com
A slip leash is a very versatile tool that can be used for walking, training, and even restraining a dog in an emergency. It consists of a loop of webbing or rope that slips over the dog’s head and tightens when pulled on. This makes it much easier to control a dog than a traditional collar and leash.
To make your slip leash, you will need about 2 feet of webbing or rope. Start by tying a large knot in one end, then thread the other end through the loop created by the knot. Pull the end tight, so the knot is snug against the webbing or rope.
Next, create a second loop in the webbing or rope about 6 inches from the first loop. This double loop will serve as a handle to hold onto while walking or training your dog. Finally, tie another large knot at the end of the webbing or rope to complete the leash.
Now you’re ready to take your dog for a walk! Just slip the leash over their head and adjust it, so it sits comfortably behind their ears. Hold onto the handle loop when ready to go and start walking forward.
The slack in the leash will allow your dog to move freely ahead of you without being restricted by a traditional collar and leash setup.
Various dog collars are on the market, and it can be challenging to determine which type is best for your pet. One type of collar often used is a slip collar, also called a choke chain or checked chain. While slip collars can be effective in training dogs, some potential risks are associated with their use.
When used correctly, slip collars can help to train dogs not to pull on their leash or to perform other unwanted behaviors. The collar works by tightening around the dog’s neck when they attempt to pull away from the leash, which causes them to feel uncomfortable and eventually deters them from pulling. However, if the collar is not used correctly, it can cause more harm than good.
One of the dangers of using a slip collar is that it can quickly become too tight and choke the dog. This can happen if the owner does not know how to adjust the coupling correctly or if the dog pulls too hard while wearing it. Another risk is that the dog may learn to associate pain with wearing the collar and become fearful or anxious whenever it is put on.
This could lead to further behavioral problems down the road. Slip collars can be effective for training dogs but should only be used under supervision and with proper instruction. If you are considering using one for your pet, consult a professional trainer first to ensure its safe and appropriate use.
Slip collars (also called choke chains or check chains) are one of the most popular types of dog collars but are also one of the most misunderstood. Many believe that slip collars are cruel and abusive, but they can be a safe and effective training tool when used correctly. So, how long should slip collars be?
The answer to this question depends on a few factors, including the size and breed of your dog. For example, a small toy breed dog will need a much shorter collar than a sizeable working breed dog. Most slip collars should generally be about 2-3 inches longer than your dog’s neck circumference.
This will ensure that the collar fits snugly but is not too tight. If you’re unsure about what size collar to get for your dog, it’s best to err on caution and go with a slightly larger size. You can constantly adjust the fit by adding or removing links from the chain.
It is super easy to make a homemade dog collar, and there are a few different ways you can do it. One way is to cut an old belt to size, punch a hole in each end and thread the buckle through. Another way is to sew webbing or ribbon into a loop.
You can also make a slip knot collar by tying a piece of rope around the neck loosely, then making a loop and pulling it tight. Whichever method you choose, be sure to measure your dog’s neck first so that the collar isn’t too tight or too loose.
Conclusion
Assuming you would like a summary of the blog post titled “How to Make a Slip Collar for Dogs,”: This blog post outlines a detailed process for creating a slip collar for dogs. The author begins by discussing the supplies needed, which include two pieces of webbing, two D-rings, and a buckle.
Next, the author provides clear instructions for measuring and cutting the webbing to size and how to attach the D-rings and buckle. Finally, the blog post offers tips for using the slip collar once complete.